
Get Sitecore Item Data into Sitecore CDP & Personalize
Description
Sitecore CDP (Customer Data Platform) and Personalize are two powerful tools for businesses to enhance their customer engagement and improve their overall customer experience. Sitecore CDP is a platform that collects, integrates, and activates customer data from various sources, providing businesses with a holistic view of their customers. With Sitecore CDP, businesses can gather data from multiple touchpoints, such as websites, mobile apps, and social media, to create a single customer profile.
On the other hand, Sitecore Personalize uses this data to deliver personalized content and experiences to customers across various channels. By leveraging Sitecore CDP's data, Sitecore Personalize can provide real-time personalization that adapts to customers' preferences and behaviors. This level of personalization can lead to increased customer loyalty, higher conversion rates, and improved customer satisfaction.
Together, Sitecore CDP and Personalize offer businesses a powerful solution to drive customer engagement, build customer loyalty, and achieve their marketing goals. With the ability to collect, integrate, and activate customer data, and deliver personalized experiences at scale, Sitecore CDP and Personalize can help businesses stay competitive in an increasingly crowded market.
Problem
As you can see, if you have both tools you can have much more functionality because you have extra customer data in order to personalize your content. But there is a big drawback: personalize doesn’t have content anywhere. If you want to personalize something on the site, you can add or change something on your site, but these platforms are agnostic from any content from your site. This is a problem because if you have your content in Sitecore and you want to change a component or add a new one as a personalization, you will need to inject all the HTML, CSS, and JS into your site, and you will need to find a way to get the data needed from the CMS and display it after injecting the component in the site.
This takes too much loading time and is not efficient, just imagine, your site loads, then Personalize loads and injects your component, after this, your component calls the data from the CMS and waits for it, and finally, your component is rendered. This is not a good user experience.
There is also another problem because Personalize doesn't have the content there, you need to send hardcoded content to any experience or experiment and this means that there is no possible way to change the language of the content like in Sitecore or in any other CMS.
Solution
The solution involves connecting Sitecore and returning to the experiences or experiments data from the CMS. With this, businesses can have the HTML, CSS, and JS needed for their component, and the data will come directly from Sitecore. This approach provides better performance as businesses only need to inject their component, and the content is already available. Additionally, it solves the issue of hardcoded displayed content, as the content can now have different languages, and all content lives in one place.
This enable businesses to leverage Sitecore CDP and Personalize while also overcoming the limitations of content management. By connecting Sitecore with Personalize and using this approach, businesses can achieve a more efficient and streamlined process for content management and personalization, ultimately improving their customer engagement and experience.
Get Item Data
As you may know, the Sitecore Item Service provides a RESTful API in order to get items. With this API you can get your content from Sitecore into CDP & Personalize. But, by default, this API is protected so you need to remove this protection so this API can be consumed from your CMS without authentication.
Before continuing it is supposed that you have content created to get from your cms.

In this example that is the component that is going to be injected by Personalize. It has this content.
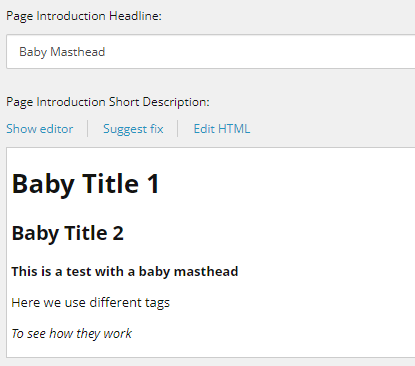
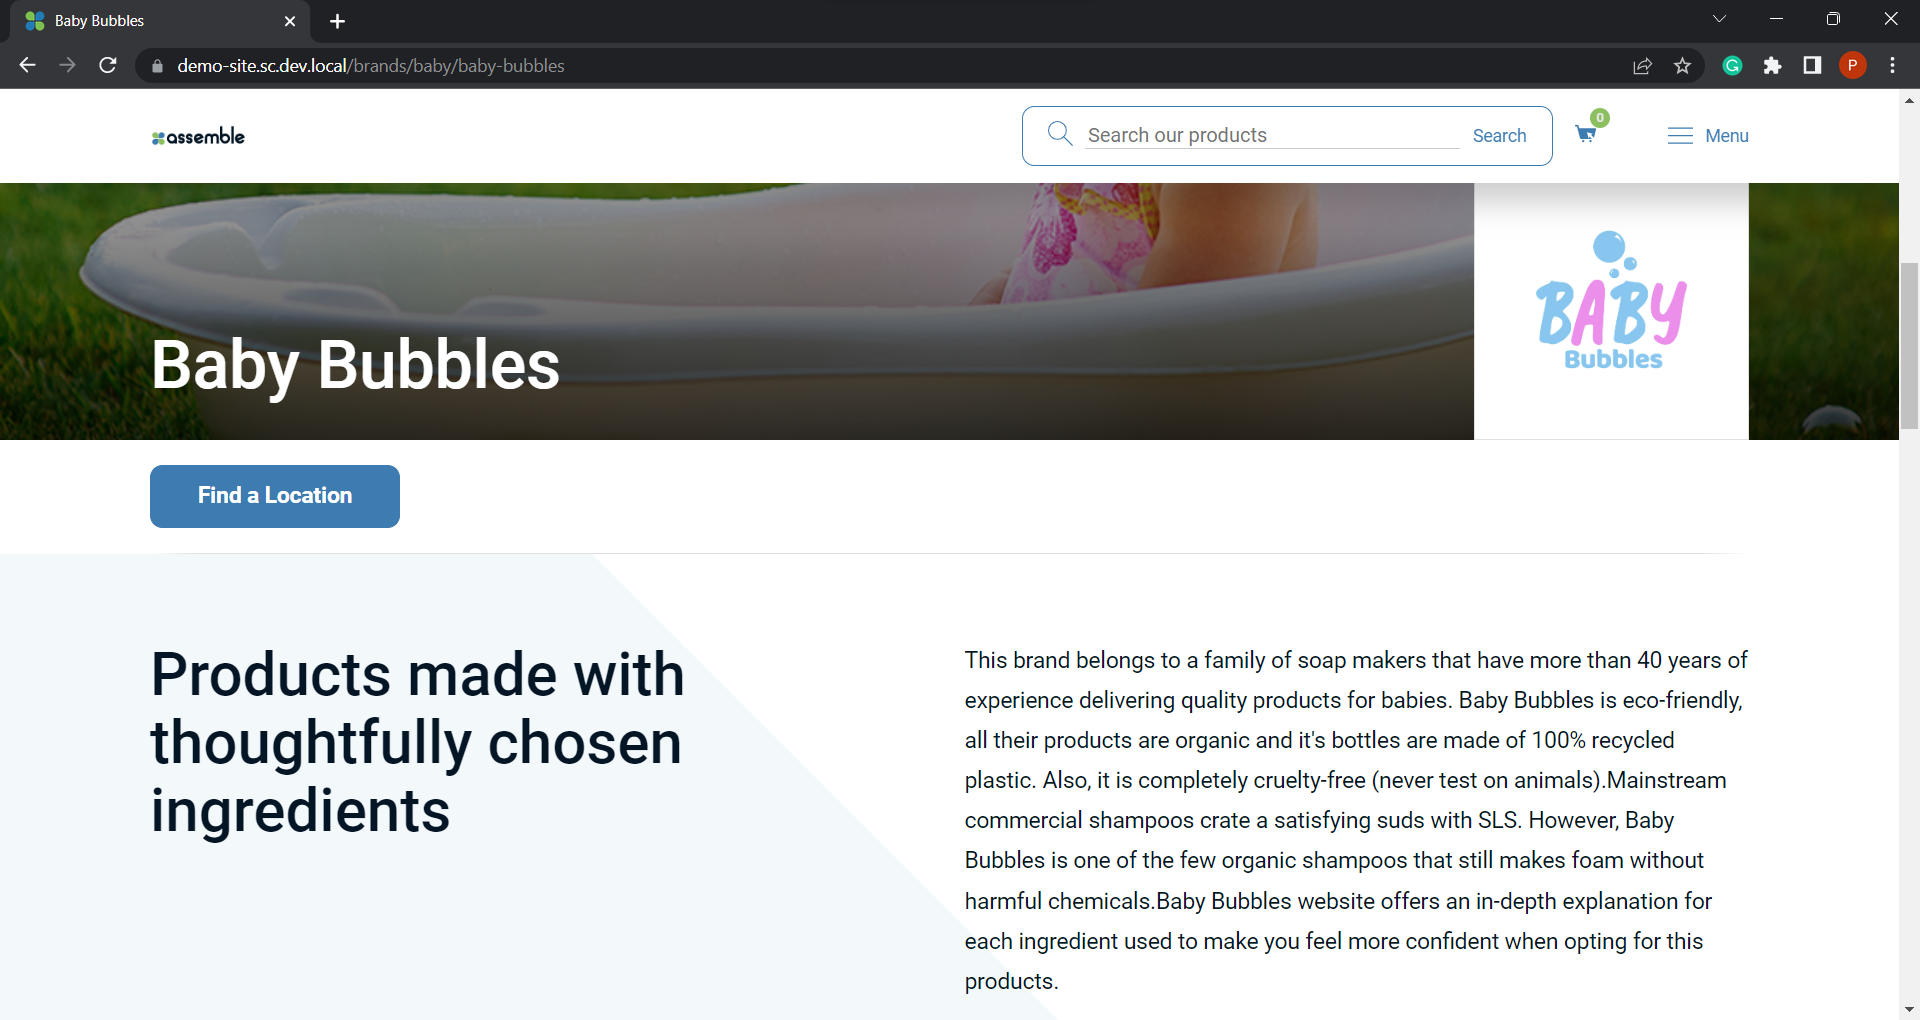
The expected result is to change the content on this baby page to the content that comes from this new Personalize Component.
Create Connection
Add a Data System Connection and configure it with a name, description, icon and without authentication. In the request, you need to add the URL for your Sitecore Item Service API. Finally, you can add a parameter to the URL so you can send a different thing on each request, so this way you can use the same connection to get different items by id, path, search, etc…

Test your connection and see if you can get different items by changing the parameter.
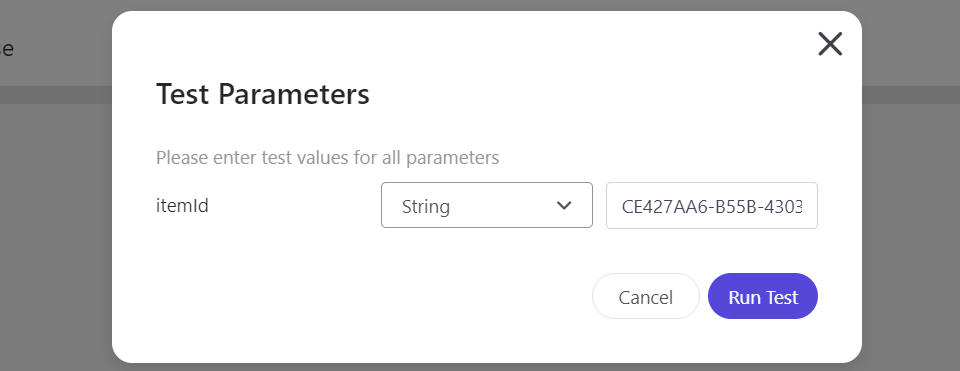
See if you got the needed response

After testing your connection you can continue to map the results.
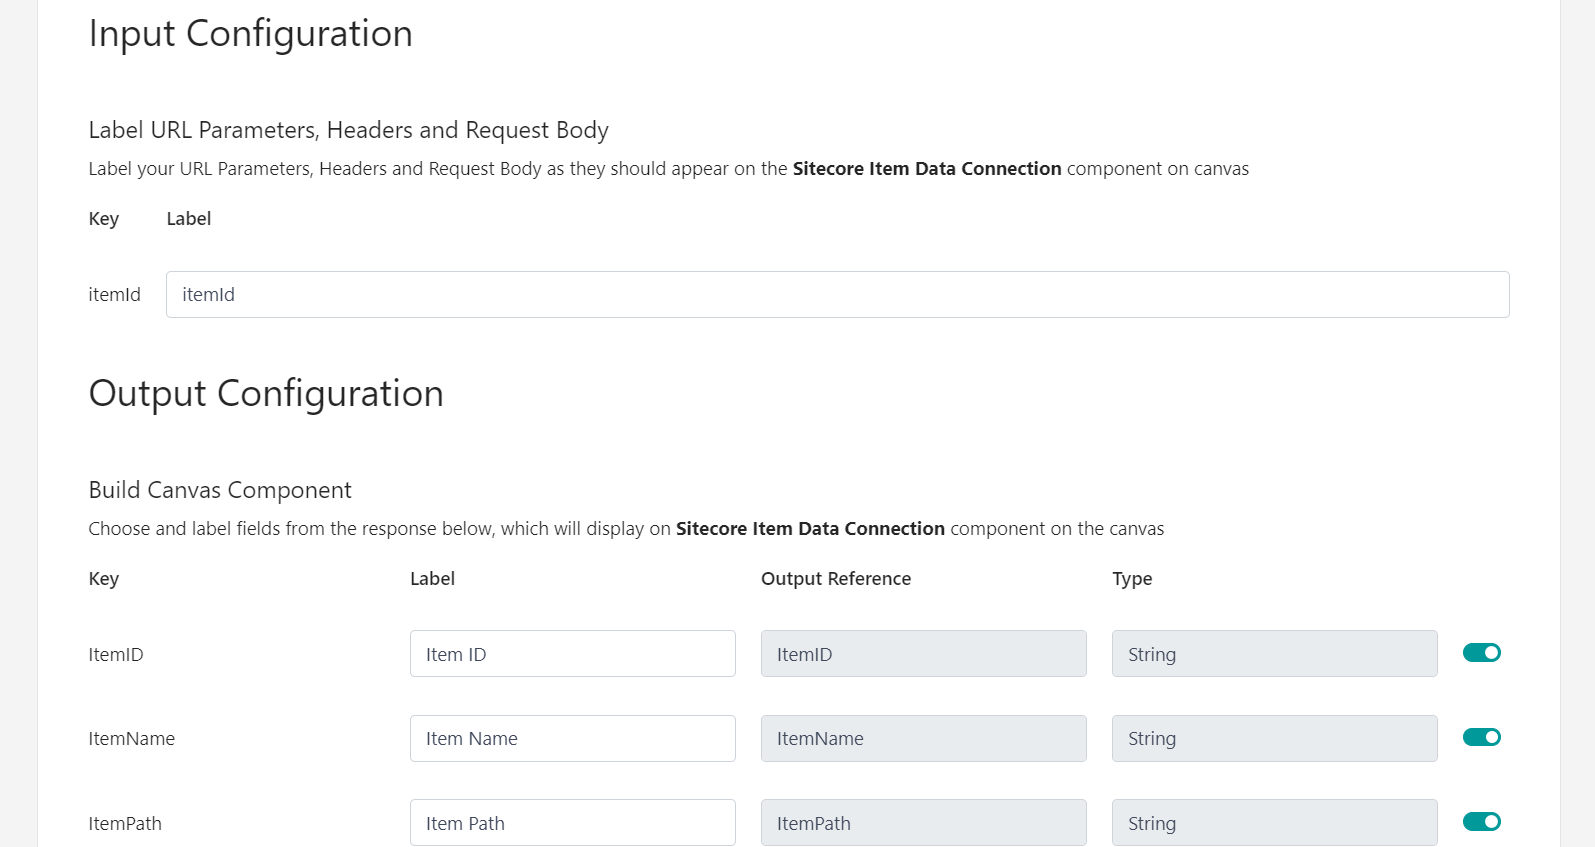
Finally, you can save your connection.
Create Decision Model
Now that you have the connection to get item data from your CMS you can use this connection in a decision model. So create a decision model and a variant. There in the canvas drag and drop the Data System node and select your connection.
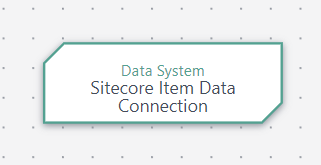
Click on that node, and you will see the input for the parameter in the URL for your connection, so just send there the needed parameter in order to get your item.
Also, at the right part, you will see the mappings for the results that you are going to receive. This is very useful because you can use those in another node in your decision model.

In this case, drag and drop a programmable and connect your connection as an input to it.
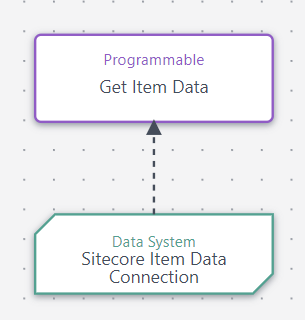
In your programmable, you can use the variables returned by your connection. So you can add validations and return only the data you are going to need. Something important here is that if your connection returns HTML, you must add a stringify that HTML, so the result can be used in any experience or experiment.
(function () { let introduction = ''; let description = ''; // Add statements here if (sitecoreItemDataConnection["Page Introduction Headline"]) { introduction = JSON.stringify(sitecoreItemDataConnection["Page Introduction Headline"]); } if (sitecoreItemDataConnection["Page Introduction Short Description"]) { description = JSON.stringify(sitecoreItemDataConnection["Page Introduction Short Description"]); } return { introduction, description };})();Finally, test your decision model to see if the decision model is returning the item data you are going to need in your experiences or experiments.
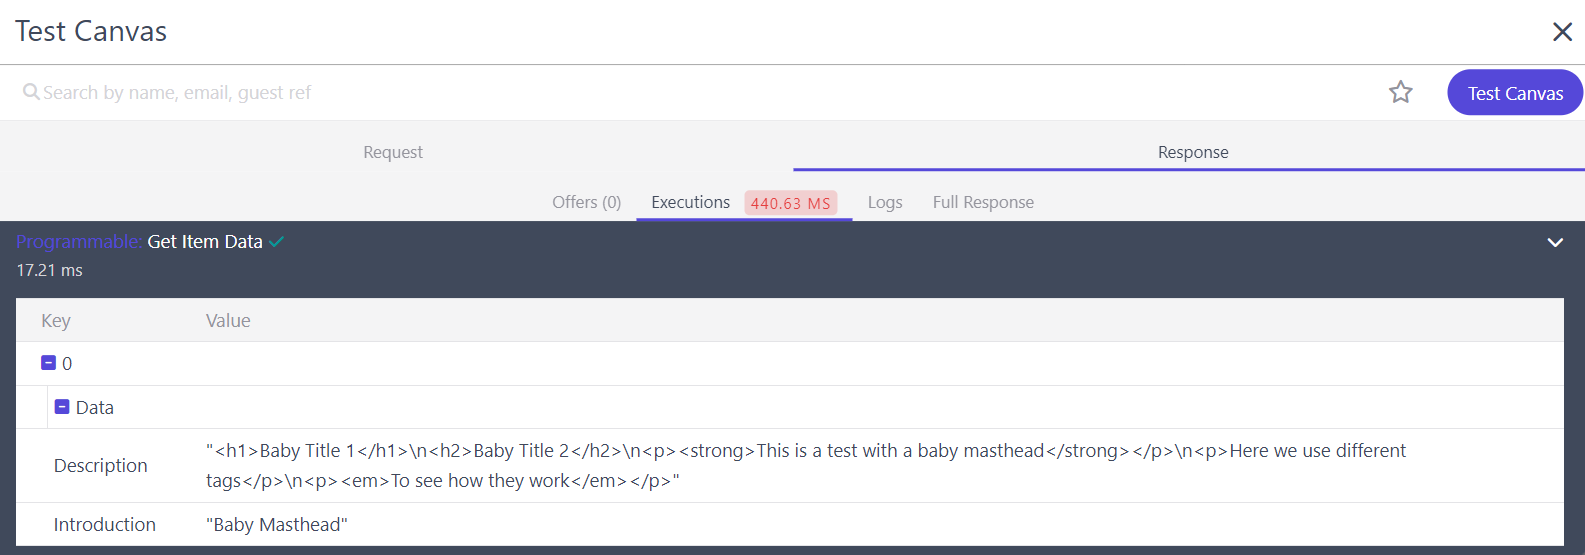
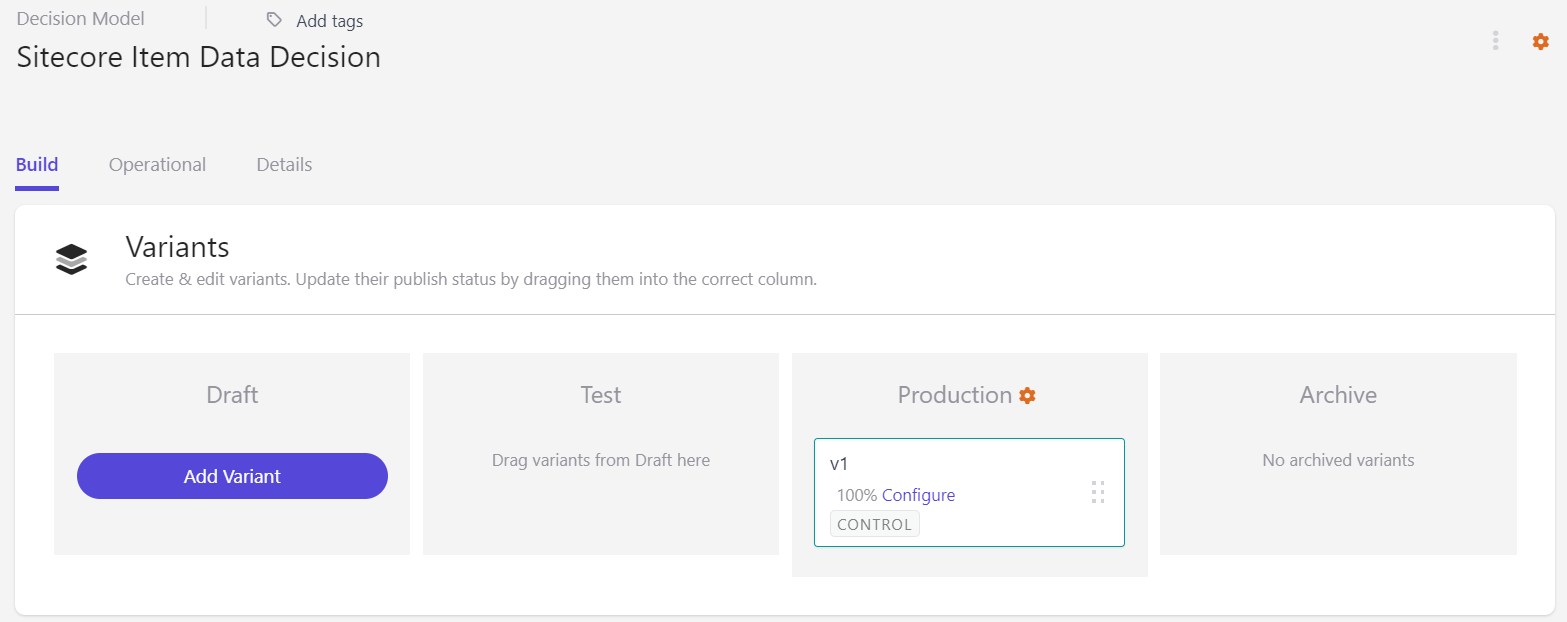
If everything is correct, move your variant to production and now you can connect your decision model to any experience or experiment!
Create Experience
First, create your experience and add a new variant. There you will need to add your HTML, CSS, and JS. For the moment just add the variant with no content so you can connect your decision model. Now, add your decision model.

Now return to your variant and go to the API tab. There you can add this code in order to validate if the decision model is returning the data you need.
{ <#if (decisionModelResults)??> <#assign getItemData = getDecisionModelResultNode("Get Item Data")> <#if (getItemData)??> <#assign data = getItemData.outputs[0].data> <#if (data)??> "introduction": ${(data.introduction)!'Defatul Introduction'}, "description": ${(data.description)!'Defatul Description'} </#if> </#if> </#if>}On the right, you can go to the Data tab and there you will see your Experience Response.
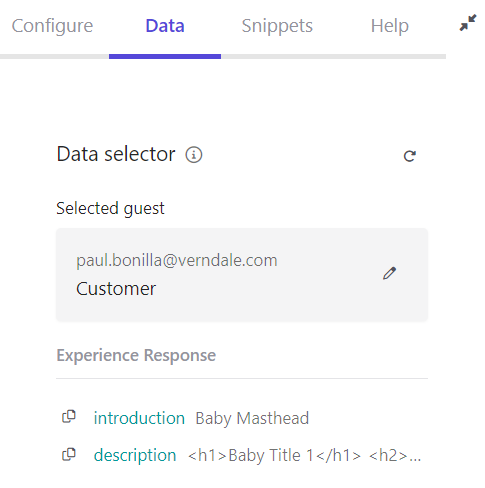
Then, go to the HTML tab and add your variables. If your variable is an HTML you can add 3 brackets so the HTML gets rendered on the page. With this approach, as you only get the data you will need to add all the HTML needed to make the component look the same as on the page.
<section class="container brand-intro"> <h2 class="brand-intro__subhead">{{introduction}}</h2> <div class="brand-intro__description rtf">{{{description}}}</div></section>Finally, in the JS tab add the code to replace this HTML on your site.
(function () { // Add statements here replaceHTML('.brand-intro');})();Now you can preview your experience and see that the content is changed to the injected one.
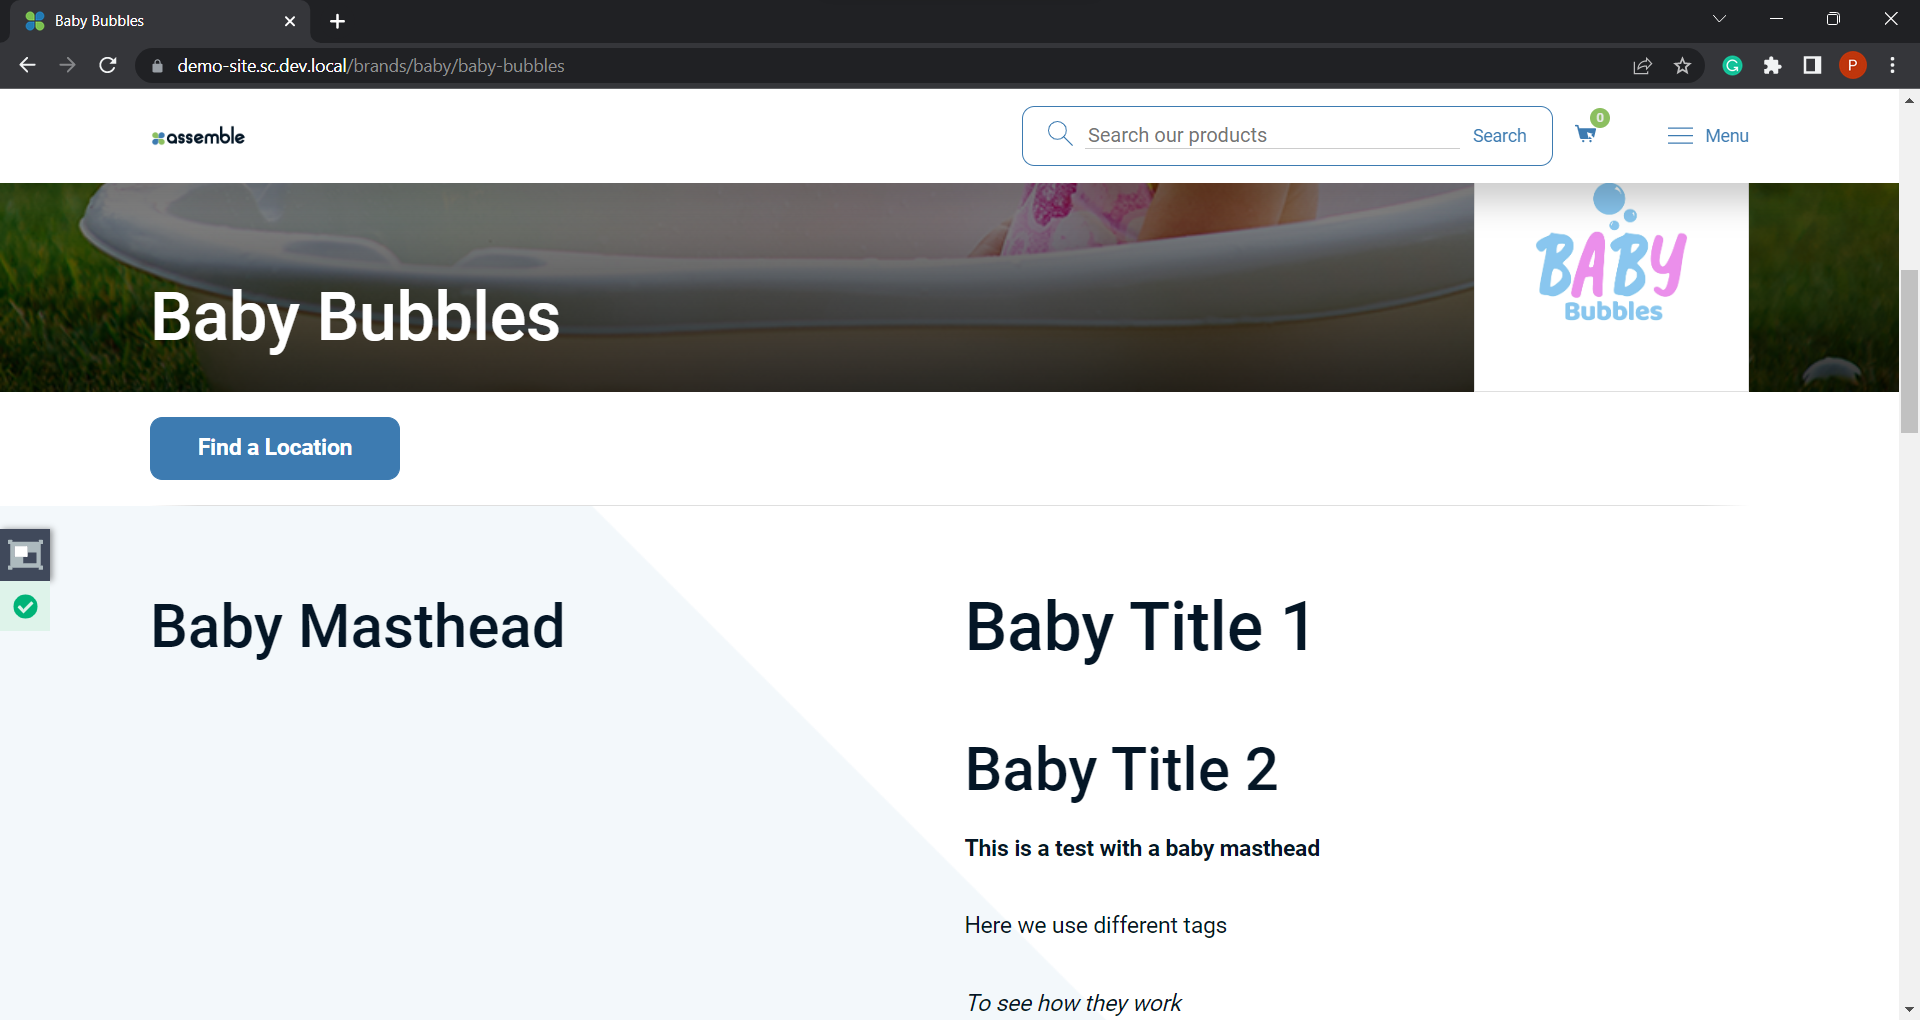
Finally, you can publish your experience!